Marble looks stunning when it’s polished properly. But one wrong move can turn your beautiful countertop into a dull, scratched mess that costs thousands to fix.
We’ve seen homeowners make the same polishing mistakes over and over. The good news?
These errors are completely preventable once you know what to watch out for.
Using the Wrong Cleaning Products
Marble is made of calcium carbonate, which reacts badly with acidic cleaners. Using lemon juice, vinegar, or regular bathroom cleaners will etch your marble permanently, leaving dull spots that need professional repair.
This is the biggest mistake people make. You see a stain on your marble and grab whatever cleaner is under the sink. That “natural” lemon cleaner or vinegar solution? It’s actually eating away at your marble’s surface.
Here’s what happens: Acid touches marble and creates a chemical reaction. The marble dissolves slightly, leaving behind a rough, dull spot called an etch mark. These marks look like water stains, but they’re actually tiny craters in your stone.
What to Use Instead:
- pH-neutral stone cleaners only
- Mild dish soap mixed with water
- Specialized marble cleaning products
- Microfiber cloths for wiping
Skip anything with citrus, vinegar, ammonia, or bleach. Even “natural” doesn’t mean safe for marble.
Polishing Too Often
Many homeowners think marble needs daily polishing to stay shiny. Wrong. Over-polishing wears down the stone and actually makes it look worse over time.
Marble naturally has a shine from its crystalline structure. True polishing involves using abrasive compounds to smooth microscopic scratches. Do this too often and you’ll thin out your marble over years of unnecessary wear.
The Right Schedule:
- Daily: Clean with damp microfiber cloth
- Weekly: Use proper marble cleaner
- Monthly: Deep cleaning if needed
- Yearly: Professional polishing (if required)
Most residential marble countertops only need professional polishing every 2-3 years with normal use.
Using DIY Polishing Powders Wrong
YouTube makes marble polishing look easy. Mix some powder, rub it around, and voilà, shiny marble! Reality check: improper technique with polishing compounds creates more problems than it solves.
Common powder mistakes include:
- Using too much product (creates streaky residue)
- Not mixing with enough water (scratches the surface)
- Rubbing in circles (leaves swirl marks)
- Skipping the cleaning step first (grinds dirt into marble)
Check: DIY vs Professional Marble Polishing
Proper Powder Technique:
Start with completely clean marble. Mix polishing powder with water to make a thin paste. Work in straight lines, not circles. Use light pressure – let the compound do the work. Clean thoroughly afterward to remove all residue.
If you’re not comfortable with this process, hire a professional. Fixing botched DIY polishing costs more than doing it right the first time.
Ignoring Marble Type
Not all marble is the same. Carrara marble needs different care than Calacatta or Emperador. Each type has different hardness levels and porosity that affect how you should polish it.
Soft marbles like Carrara scratch easily and need gentler polishing compounds. Dense marbles like Emperador can handle slightly more aggressive polishing but take longer to show results.
Know Your Marble:
- Carrara: Light gray with fine veining, relatively soft
- Calacatta: White with bold gold/gray veining, medium hardness
- Emperador: Brown with white veining, harder and denser
- Travertine: Technically limestone, it needs special care
Ask your installer what type you have. Different stones need different approaches.
Skipping the Sealing Step
Polishing opens up marble’s pores slightly. Skip sealing afterward, and you’re inviting stains that will ruin your polishing work.
Many people polish their marble and call it done. But polishing removes the old sealer along with scratches and dullness. Without new sealer, your freshly polished marble will absorb spills like a sponge.
Sealing Timeline:
- Polish first, always
- Wait 24 hours for complete drying
- Apply marble sealer according to instructions
- Let cure for the recommended time before use
A good sealer lasts 1-2 years, depending on use. Test it by dropping water on your marble – if it beads up, you’re protected. If it soaks in, time to reseal.
Working on Dirty Marble
Polishing dirty marble is like washing your car with a dirty sponge. You’ll grind dirt and grime into the stone, creating scratches that need more polishing to fix.
We see this all the time. Someone notices their marble looks dull and jumps straight to polishing. But that dullness might just be buildup from soap scum, hard water, or everyday grime. Proper cleaning often restores the shine without any polishing needed.
Clean First, Always:
- Remove all items from the marble surface
- Sweep or vacuum loose debris
- Clean with an appropriate marble cleaner
- Rinse thoroughly with clean water
- Dry completely before polishing
Sometimes what looks like etching is just soap buildup. Save yourself time and effort by cleaning properly first.
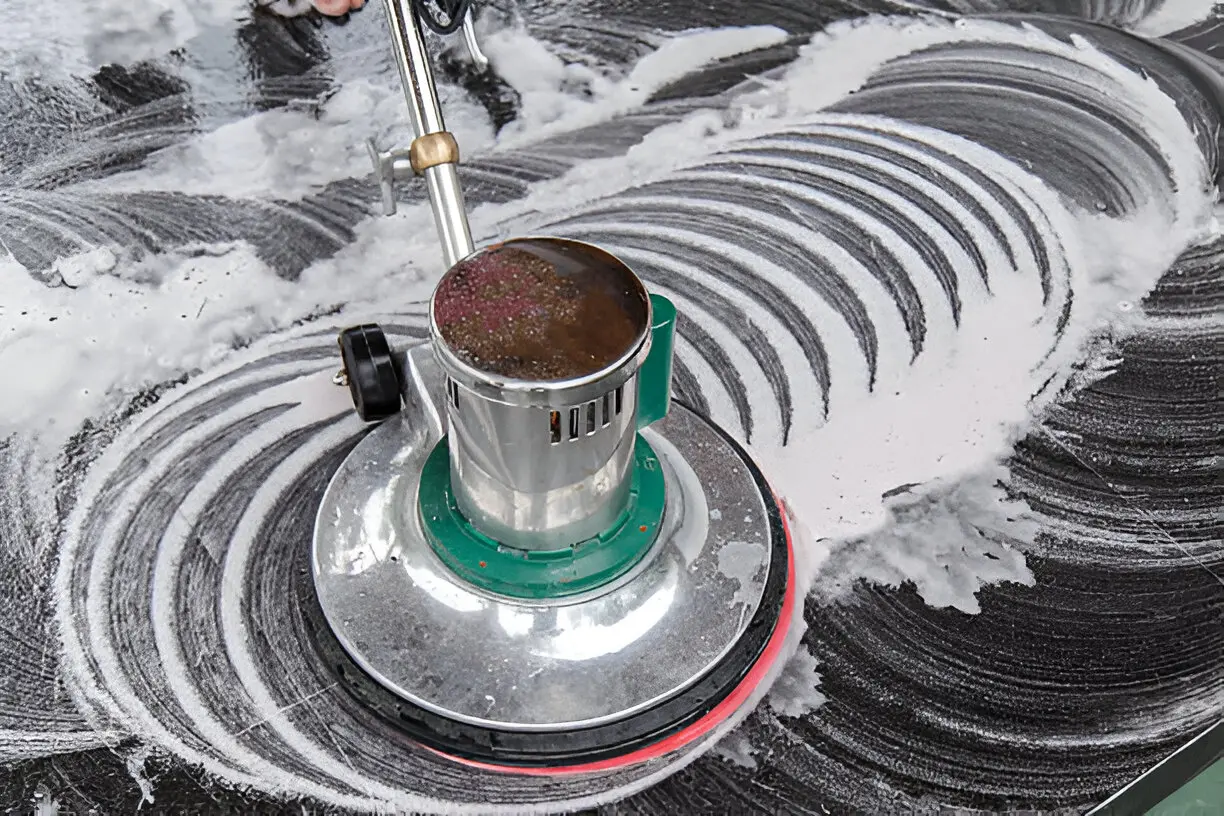
Using Power Tools Without Experience
Orbital sanders and polishing machines speed up the work but create expensive mistakes in inexperienced hands. These tools remove material quickly, including material you didn’t mean to remove.
Power tools can:
- Create uneven surfaces from too much pressure
- Leave permanent swirl marks
- Remove too much material in one spot
- Generate heat that damages the marble
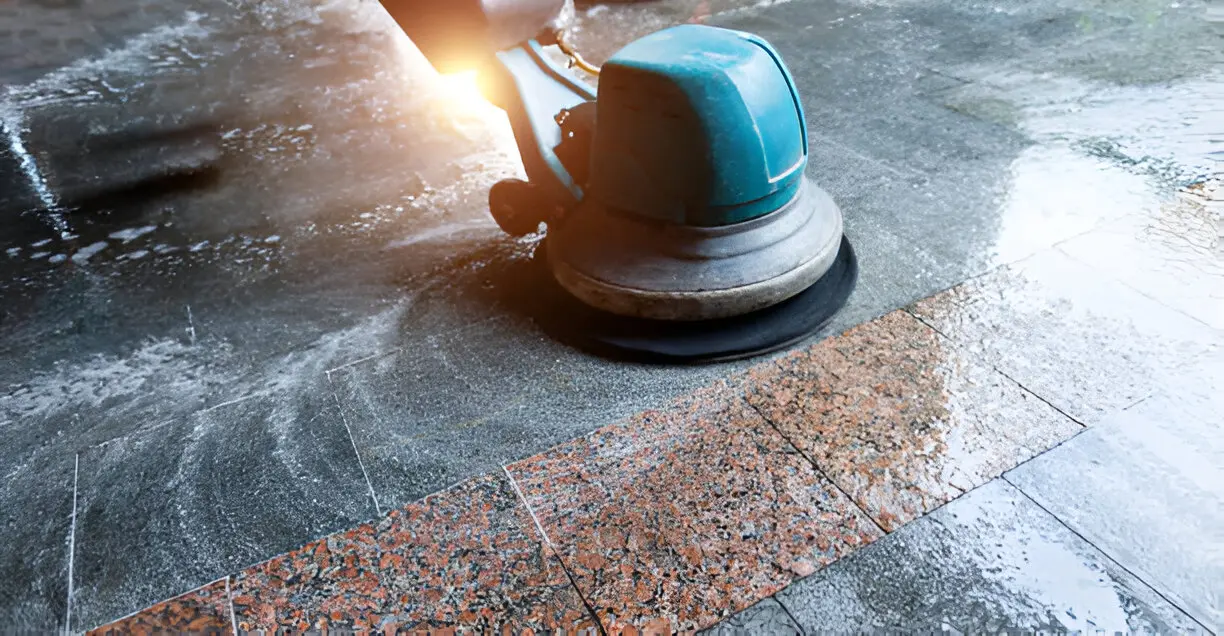
Hand Polishing vs. Machine Polishing:
Hand polishing takes longer but gives you complete control. You can feel when you’ve polished enough and stop before causing damage.
Machine polishing works faster but requires practice to master. If you’ve never used polishing equipment on stone, start with a small, hidden area first.
Not Testing in Hidden Areas
Every marble slab is unique. What works on your friend’s countertop might not work on yours. Always test polishing products and techniques in an inconspicuous area first.
Pick a spot that’s normally hidden, under an appliance, in a corner, or along a back edge. Test your entire process from cleaning to polishing to sealing. Wait a few days to see the results before tackling visible areas.
This simple step prevents ruining highly visible surfaces with untested products or techniques.
Expecting Instant Results
Marble polishing is gradual. Expecting mirror-like results after one application leads to over-polishing and eventual damage.
Good polishing builds up slowly through multiple light applications. Each round removes a tiny layer of damaged marble and reveals the fresh stone underneath. Trying to speed this up with heavy pressure or multiple coats in one session causes more harm than good.
Patience Pays Off:
- Start with a light polishing compound
- Work in small sections
- Build up shine gradually
- Stop when you achieve the desired results
- Don’t chase perfection in one session
When to Call Professionals
Some marble problems need professional equipment and expertise. Don’t waste time and money on DIY attempts when these issues require professional restoration:
- Deep etching from acidic spills
- Widespread scratching from improper cleaning
- Uneven wear patterns from heavy use
- Cracking or chipping
- Complete loss of shine across large areas
Professional marble restoration specialists have industrial equipment and compounds not available to homeowners. They can fix problems that DIY methods can’t touch.
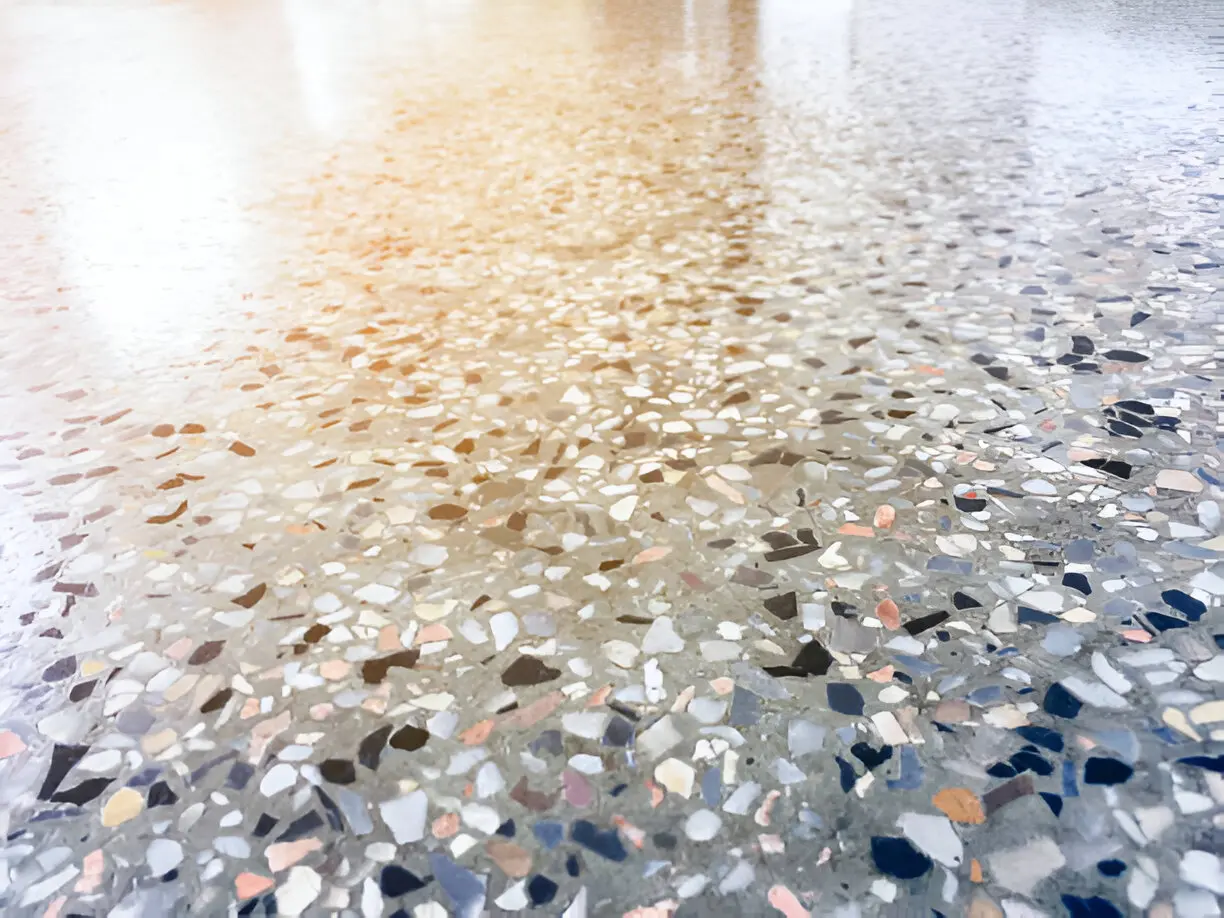
Keep Your Marble Beautiful
Marble polishing isn’t rocket science, but it requires the right approach. Avoid these common mistakes and your marble will stay beautiful for decades.
Remember: when in doubt, clean first and consult professionals. Your beautiful marble deserves proper care, not risky experiments that could cost thousands to fix.
Take care of your marble, and it’ll take care of your home’s value.

One Response