Your marble floors used to be the pride of your home. Now they look dull, scratched, and lifeless. Don’t worry, you’re not alone in this struggle.
Marble is beautiful but tricky to maintain. One wrong cleaning product can leave permanent damage. The good news? You can bring back that mirror-like shine without calling expensive professionals.
Why Your Marble Lost Its Shine
Marble loses its shine from daily wear, acidic spills, and the wrong cleaning products. Traffic patterns create microscopic scratches that make the surface look dull. Understanding the cause helps you fix it properly.
Let’s break down what’s really happening to your floors.
The Science Behind Dull Marble
Marble is basically compressed limestone. It’s soft compared to other stones like granite. Every time you walk on it, tiny particles get ground into the surface. This creates thousands of microscopic scratches.
Acidic substances are marble’s worst enemy. Lemon juice, wine, coffee, and even some cleaners can literally eat away at the stone. This process is called etching, and it leaves permanent marks.
Regular mopping with the wrong products makes things worse. Many household cleaners are too harsh for marble’s delicate surface.
What You’ll Need to Restore Your Marble
Don’t rush to the store just yet. Check what you already have at home first.
Basic Supplies:
- Soft microfiber cloths
- Warm water
- Mild dish soap (nothing with citrus)
- Baking soda
- Soft-bristled brush
- Vacuum cleaner
- Marble polish (we’ll talk about choosing the right one)
For Serious Restoration:
- Fine-grit sandpaper (1000-3000 grit)
- Marble polishing powder
- Buffer or polishing machine (you can rent these)
- Marble sealer
Most of these items cost less than one professional cleaning session.
Step-by-Step Restoration Process
Step 1: Deep Clean First
You can’t polish dirty marble. Start with a thorough cleaning to remove all dirt and grime.
Vacuum the entire floor to remove loose dirt. Don’t skip this step – grinding dirt into marble during cleaning causes more scratches.
Mix a few drops of mild dish soap in warm water. Avoid anything with citrus scents or harsh chemicals. Dawn dish soap works well because it’s gentle but effective.
Mop the floor with your soapy water using a microfiber mop. Rinse thoroughly with clean water. Any soap residue will interfere with polishing later.
Dry the floor completely with clean towels or let it air dry.
Step 2: Address Stains and Etching
Different stains need different treatments. Here’s how to handle the most common ones.
For Oil-Based Stains (grease, makeup): Make a paste with baking soda and water. Spread it over the stain and cover with plastic wrap. Tape the edges down and let it sit overnight. The baking soda will draw out the oil.
For Water Stains: These are usually mineral deposits. Mix equal parts water and white vinegar… wait, stop! Never use vinegar on marble. Instead, use a commercial marble cleaner designed for water stains.
For Etching (dull spots from acidic spills): Light etching can be fixed with marble polishing powder. Mix it with water to make a paste. Rub it into the etched area with a soft cloth using circular motions. This process takes patience – you’re literally re-polishing the stone surface.
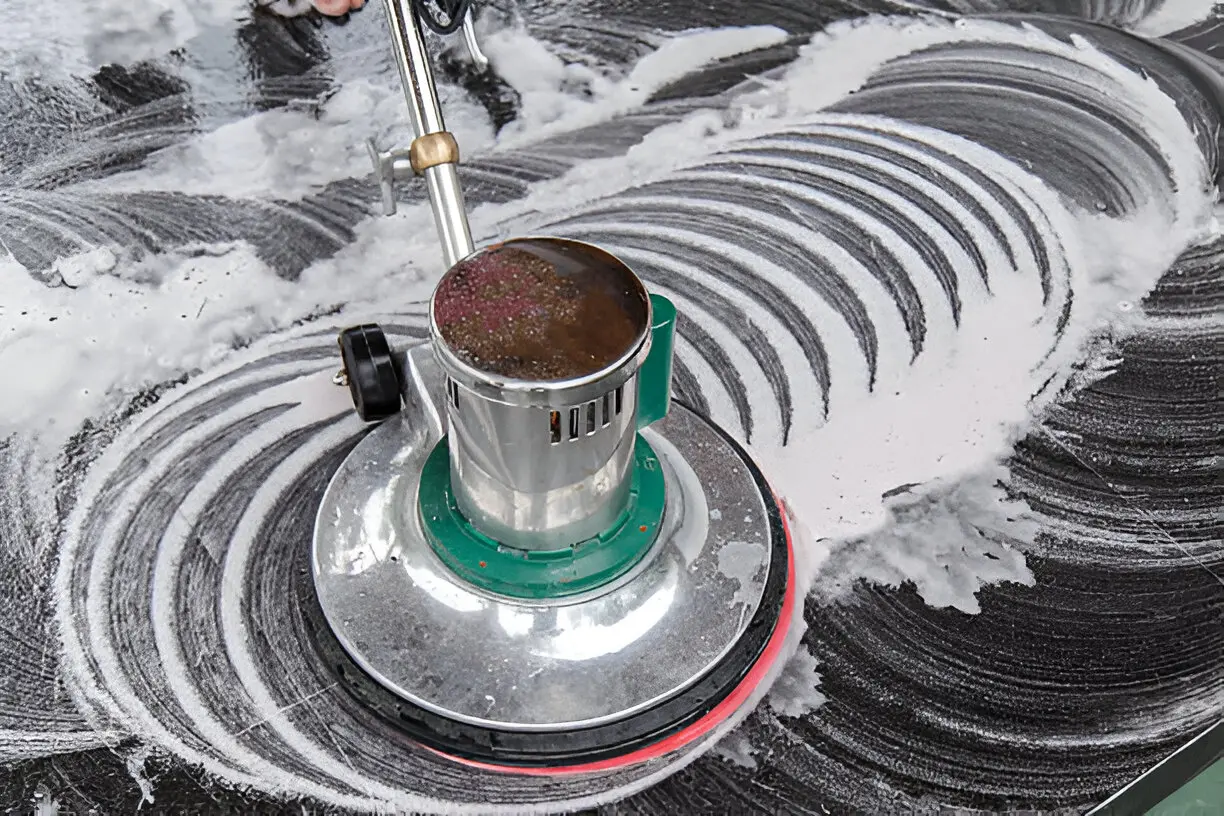
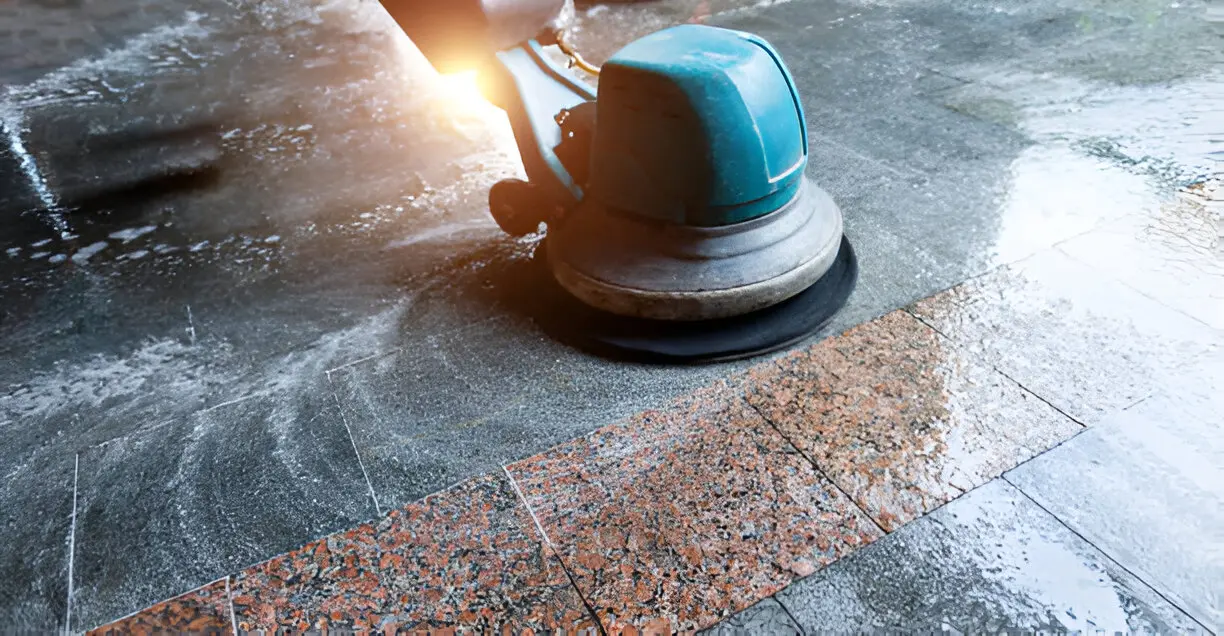
Step 3: Polish the Entire Floor
Now comes the fun part – bringing back that shine.
For Light Dulling: Use a high-quality marble polish. Apply it according to the manufacturer’s directions. Most polishes work best when applied to clean, dry marble.
Work in small sections (about 4×4 feet). Apply the polish with a soft cloth and buff it out immediately. Don’t let it dry on the surface.
For Heavy Restoration: You might need to use fine-grit sandpaper first. This sounds scary, but it’s necessary for severely damaged marble.
Start with 1000-grit sandpaper and work up to 3000-grit. Sand in circular motions with light pressure. Keep the surface wet while sanding to prevent dust and heat buildup.
After sanding, use marble polishing powder. Mix it with water to make a slurry. Apply it with a buffer or by hand using circular motions. This process can take several hours for a large room.
Step 4: Seal Your Marble
Sealing protects your newly restored shine. Not all marbles need sealing, but most benefit from it.
Test if your marble needs sealing by dropping a small amount of water on an inconspicuous area. If the water soaks in within 15 minutes, you need to seal.
Choose a penetrating sealer designed for marble. These soak into the stone rather than sitting on top.
Apply the sealer with a soft cloth or applicator pad. Work in small sections and follow the manufacturer’s drying times. Most sealers need 24 hours to cure fully.
Maintaining Your Restored Shine
Restoration is only half the battle. Proper maintenance keeps your floors looking good for years.
Daily Care:
- Sweep or vacuum daily to remove grit
- Clean spills immediately, especially acidic ones
- Use only pH-neutral cleaners designed for marble
- Place mats at entrances to reduce tracked-in dirt
Weekly Care:
- Mop with warm water and marble-safe cleaner
- Dry the floor after mopping to prevent water spots
- Buff high-traffic areas with a soft cloth
Monthly Care:
- Apply marble polish to high-traffic areas
- Check for new stains or etching and address immediately
- Inspect the sealer and reapply as needed (usually every 1-2 years)
Common Mistakes That Ruin Marble
Learn from others’ expensive mistakes.
Using Acidic Cleaners: Lemon, vinegar, and citrus-based cleaners will etch marble permanently. Stick to pH-neutral products only.
Letting Spills Sit: Marble is porous. The longer a spill sits, the deeper it penetrates. Clean spills within minutes, not hours.
Using Too Much Water: Excessive water can seep into marble and cause staining or bacterial growth. Use damp, not soaking wet, mops.
Skipping the Sealer: Unsealed marble stains easily and loses its shine faster. Don’t skip this crucial step.
When to Call Professionals
Sometimes DIY isn’t enough. Call marble polishing professionals if you have:
- Deep scratches or chips
- Widespread etching across large areas
- Stains that won’t come out after multiple attempts
- Uneven or lippage issues between tiles
Professional restoration costs AED 15-30 per square foot in Dubai, but it might be worth it for severe damage.
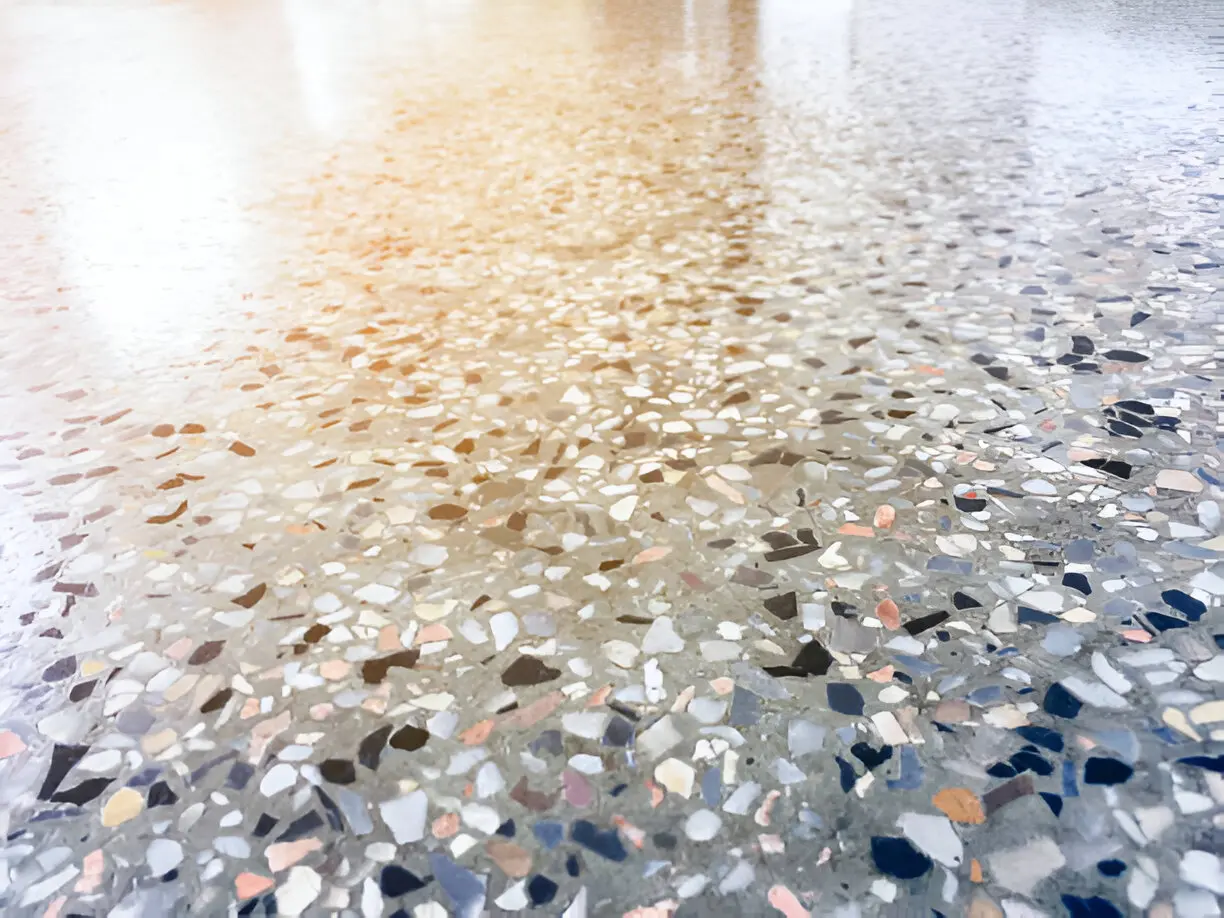
Your Marble Can Look New Again
Restoring marble shine takes time and patience, but it’s totally doable. Start with proper cleaning, address specific problems, polish carefully, and maintain regularly.
Most people see dramatic results after just one thorough restoration session. Your floors can look as good as the day they were installed.
The key is starting with realistic expectations and the right products. Take your time, follow the steps, and don’t rush the process.
Your beautiful, shiny marble floors are waiting underneath all that dullness. With a little effort, you can bring them back to life and keep them looking perfect for years to come.